Turn on auto-refresh
Let Buzzlytics refresh a dashboard on a schedule, and see exactly what it will cost before you turn it on.
Quick steps
- Open Actions, then Auto-refresh
- Switch it on
- Choose how often
- Pick the accounts
- Review the cost
- Confirm
Step by step
Prefer reading? Every step shows the screen you’ll see. Click a time to jump the video there.
-
1
Open Actions, then Auto-refresh
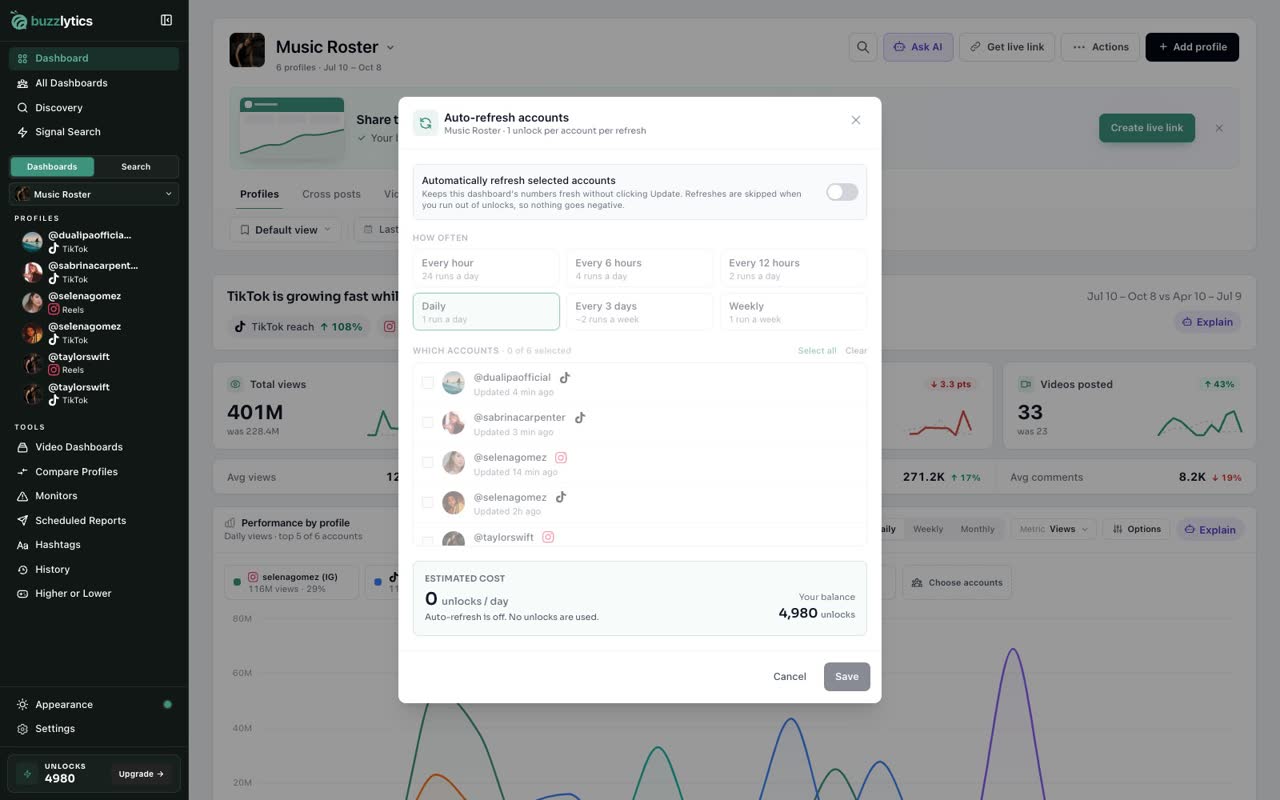
On your dashboard, open Actions and choose Auto-refresh.
-
2
Switch it on
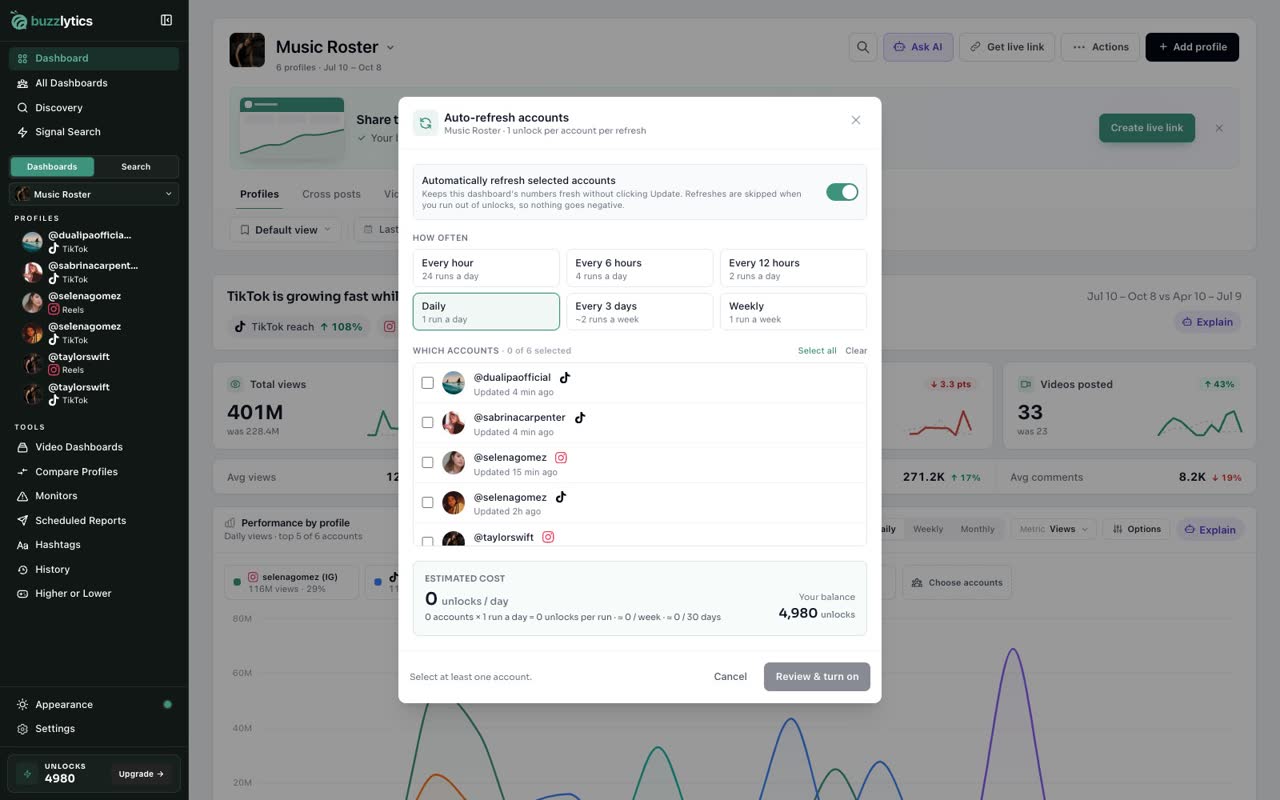
Turn on Automatically refresh selected accounts.
-
3
Choose how often
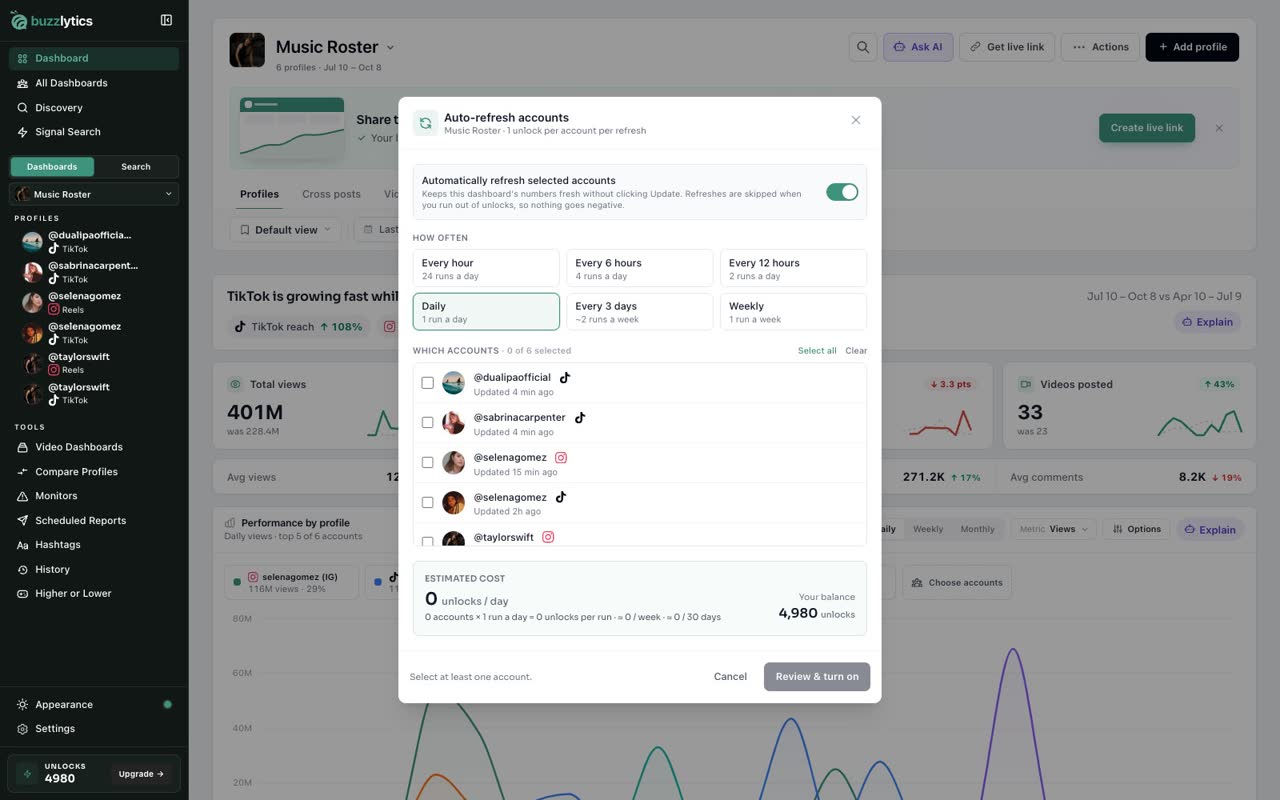
Pick how often to refresh, from every hour to once a week. Daily suits most client dashboards.
-
4
Pick the accounts
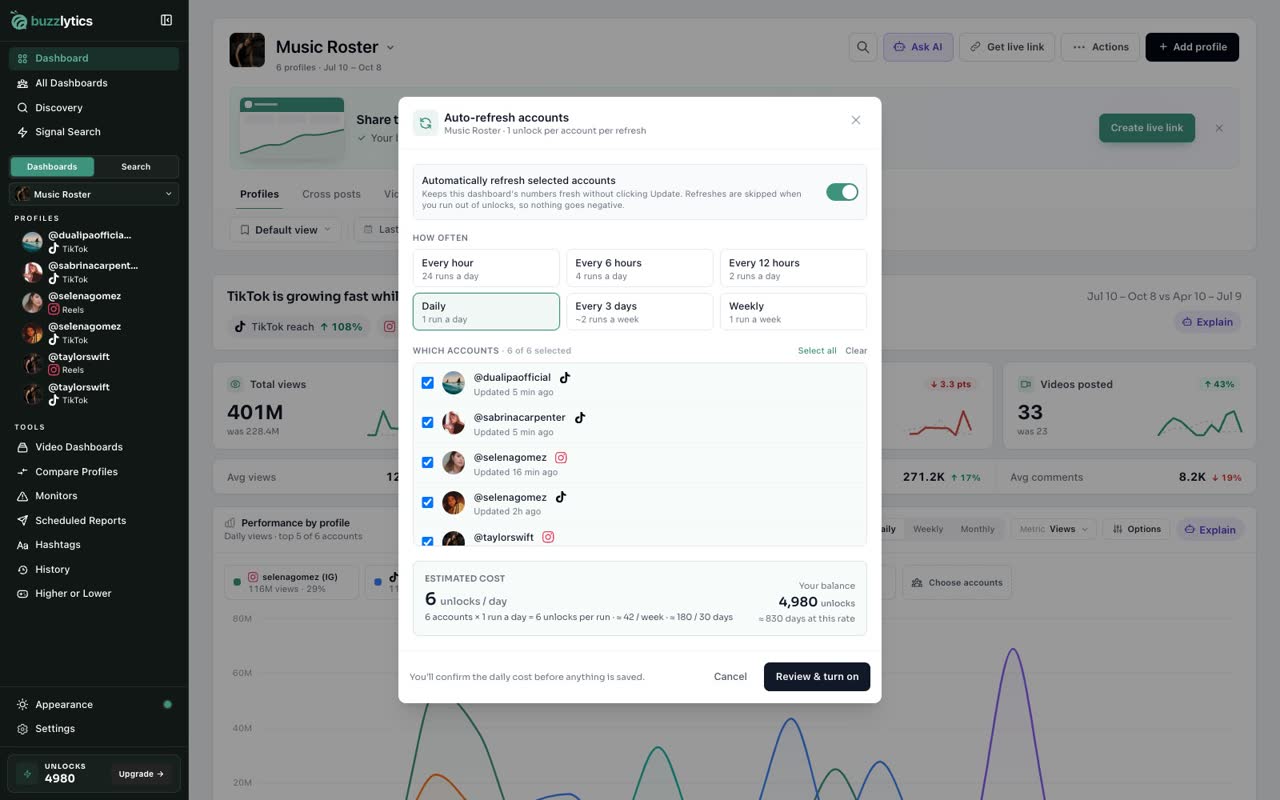
Tick the accounts to keep fresh, or click Select all. The estimated cost and your balance update as you go.
-
5
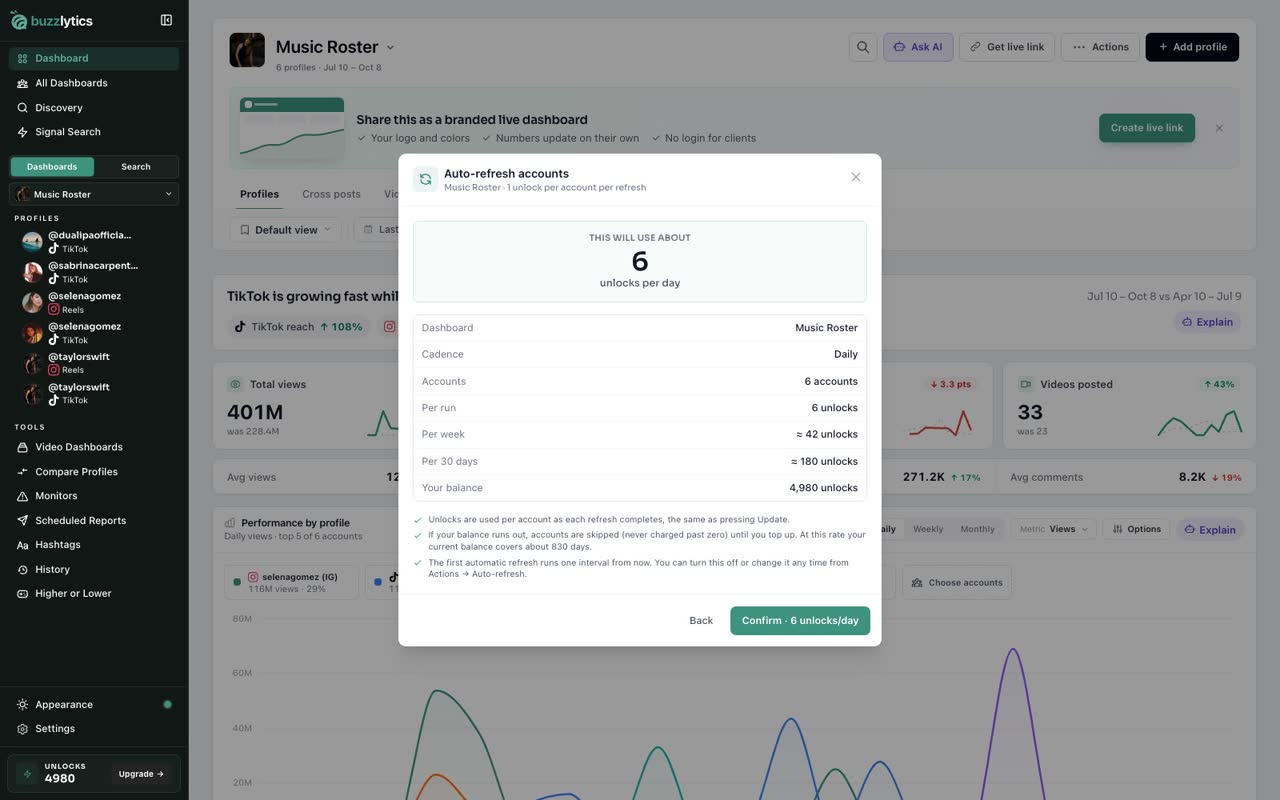
Review the cost
Click Review and turn on. You see the unlocks per run, per week and per 30 days before anything is saved.
-
6
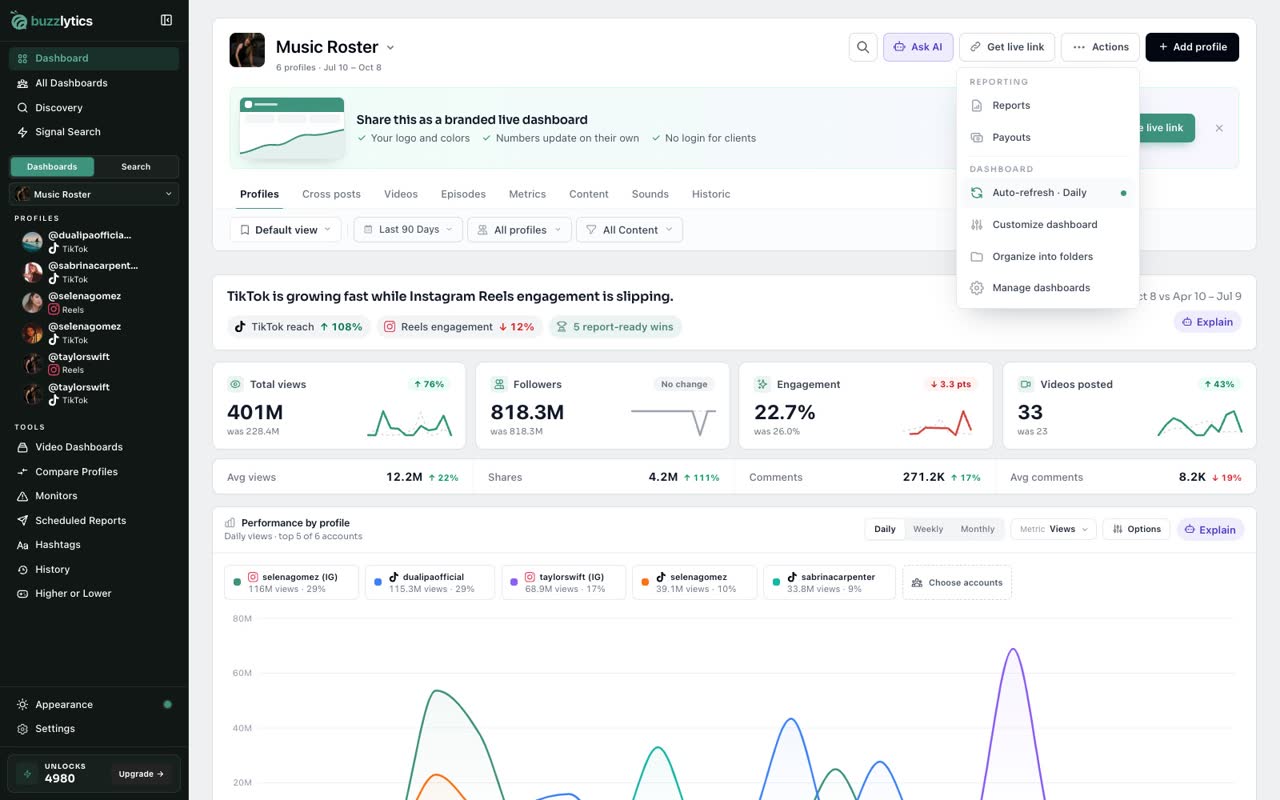
Confirm
Click Confirm. Auto-refresh is now on, and the Actions menu shows the schedule.
Good to know
- Auto-refresh uses 1 unlock per account per run, the same as clicking Update.
- If you run out of unlocks, accounts are skipped. Your balance never goes below zero.
- The first automatic refresh runs one interval after you turn it on.
Read the full transcript
In this video, you will set a dashboard to refresh itself on a schedule.
On your dashboard, open Actions and choose Auto-refresh.
Turn on Automatically refresh selected accounts.
Pick how often to refresh, from every hour to once a week. Daily suits most client dashboards.
Tick the accounts to keep fresh, or click Select all. The estimated cost and your balance update as you go.
Click Review and turn on. You see the unlocks per run, per week and per 30 days before anything is saved.
Click Confirm. Auto-refresh is now on, and the Actions menu shows the schedule.
Next up, organize with folders.