Organize with folders
Split a big dashboard into folders, like a genre, tier or campaign, and see numbers for just that folder.
Quick steps
- Open Organize into folders
- Name your first folder
- Add profiles to it
- Make another folder
- Save
- See one folder at a time
Step by step
Prefer reading? Every step shows the screen you’ll see. Click a time to jump the video there.
-
1
Open Organize into folders
Open Actions and choose Organize into folders.
-
2
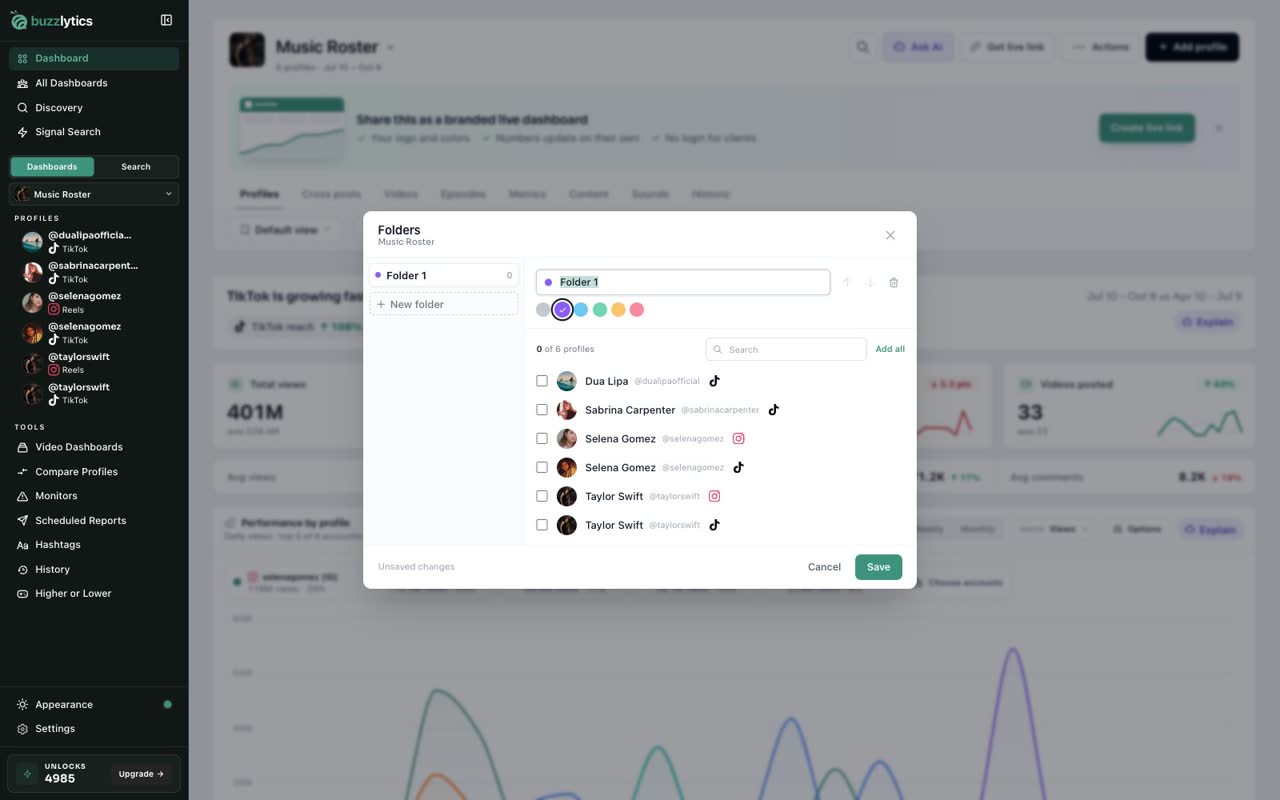
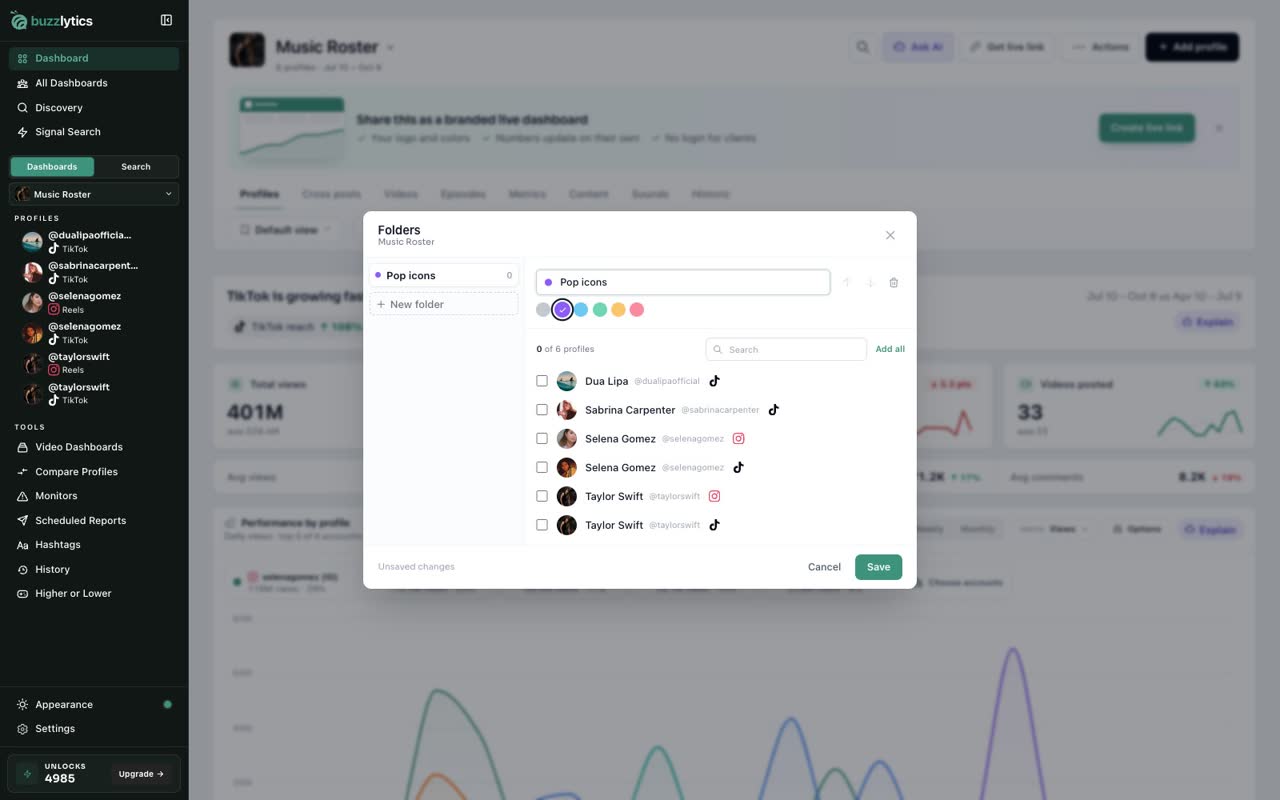
Name your first folder
A new folder is ready to name. Call it something that fits, like a genre, a tier or a campaign.
-
3
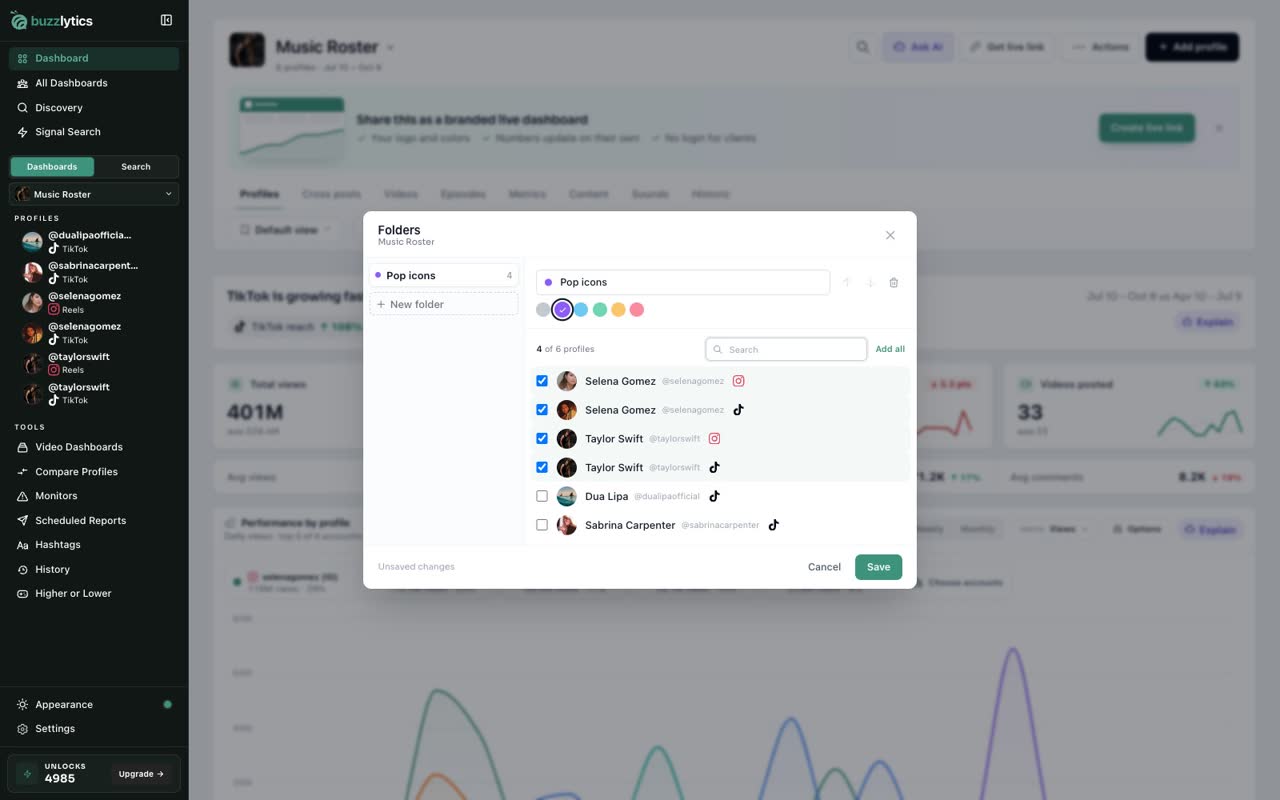
Add profiles to it
Search for a creator and tick their profiles, or use Add shown to add every match at once.
-
4
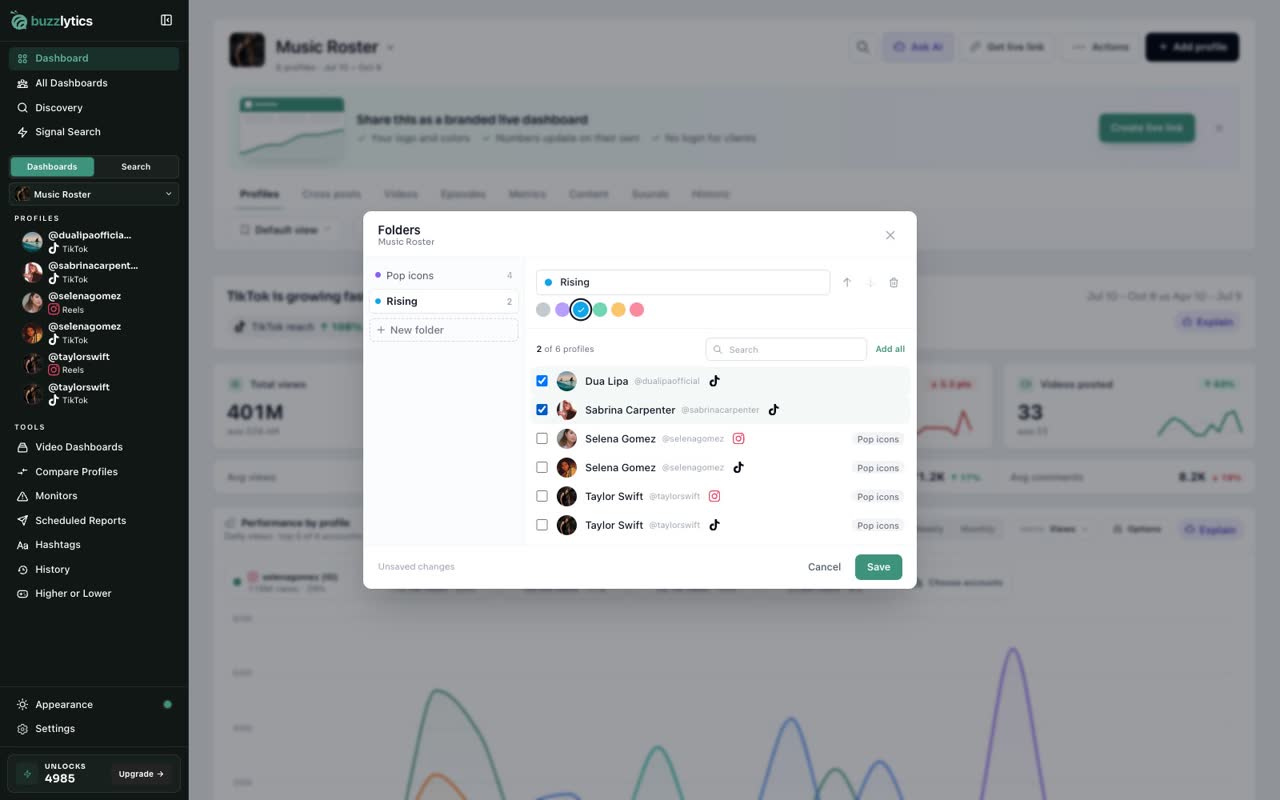
Make another folder
Click New folder to add another one, then pick its profiles the same way.
-
5
Save
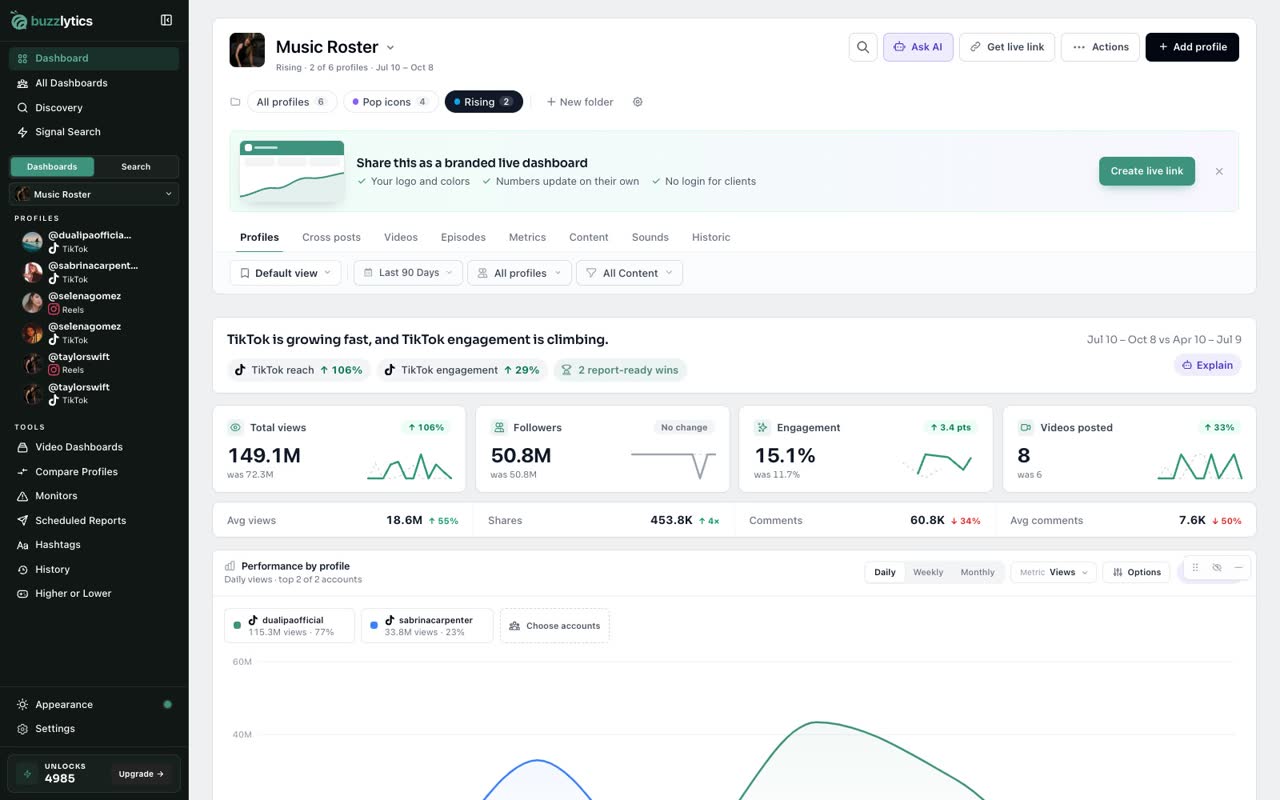
Click Save. A folder bar now sits at the top of the dashboard.
-
6
See one folder at a time
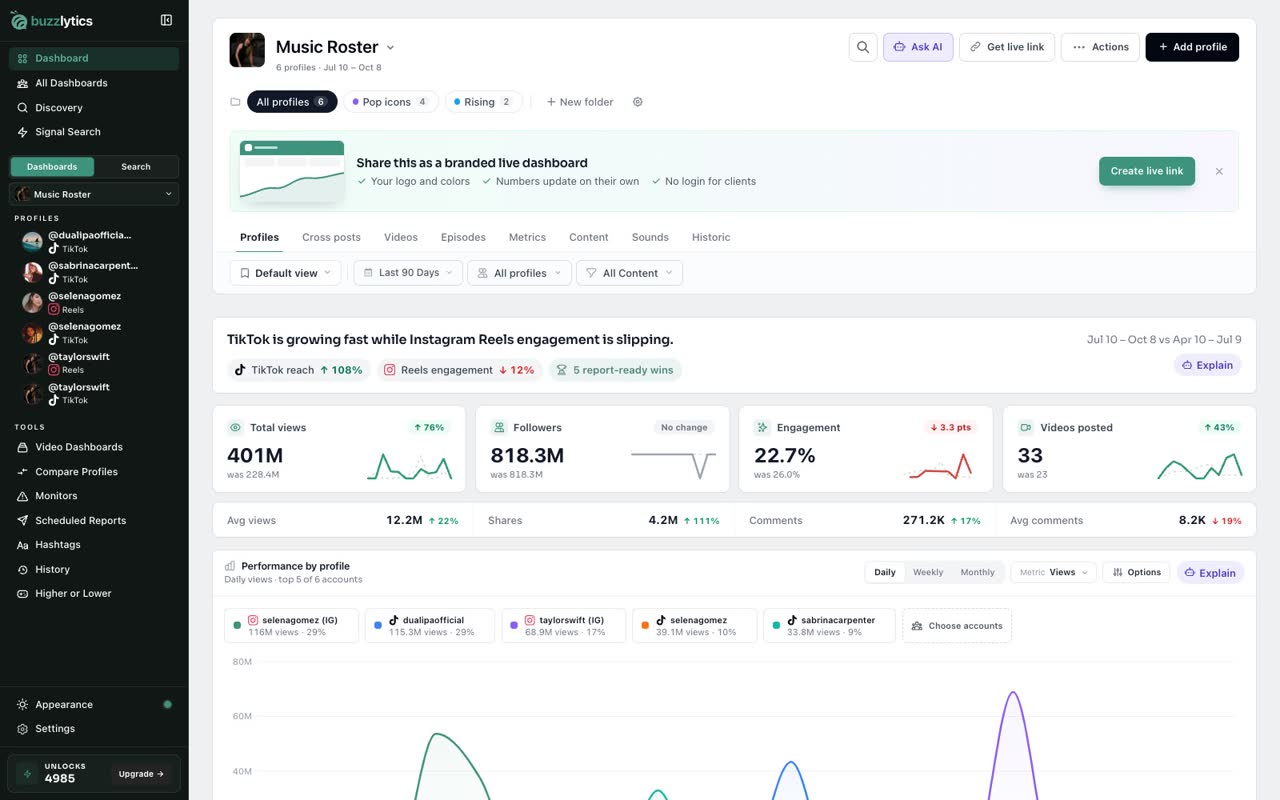
Click a folder and every number on the dashboard covers just those profiles. Click All profiles to see everything again.
Good to know
- A profile can be in one folder at a time. Profiles in no folder show under Ungrouped.
- Folders never re-scrape anything, so they use no unlocks.
- Deleting a folder keeps its profiles on the dashboard.
Read the full transcript
In this video, you will sort a dashboard into folders.
Open Actions and choose Organize into folders.
A new folder is ready to name. Call it something that fits, like a genre, a tier or a campaign.
Search for a creator and tick their profiles, or use Add shown to add every match at once.
Click New folder to add another one, then pick its profiles the same way.
Click Save. A folder bar now sits at the top of the dashboard.
Click a folder and every number on the dashboard covers just those profiles. Click All profiles to see everything again.
Next up, move profiles between dashboards.