Client portals
Give a client a private, live view of one creator, with your notes and an expiry date.
Quick steps
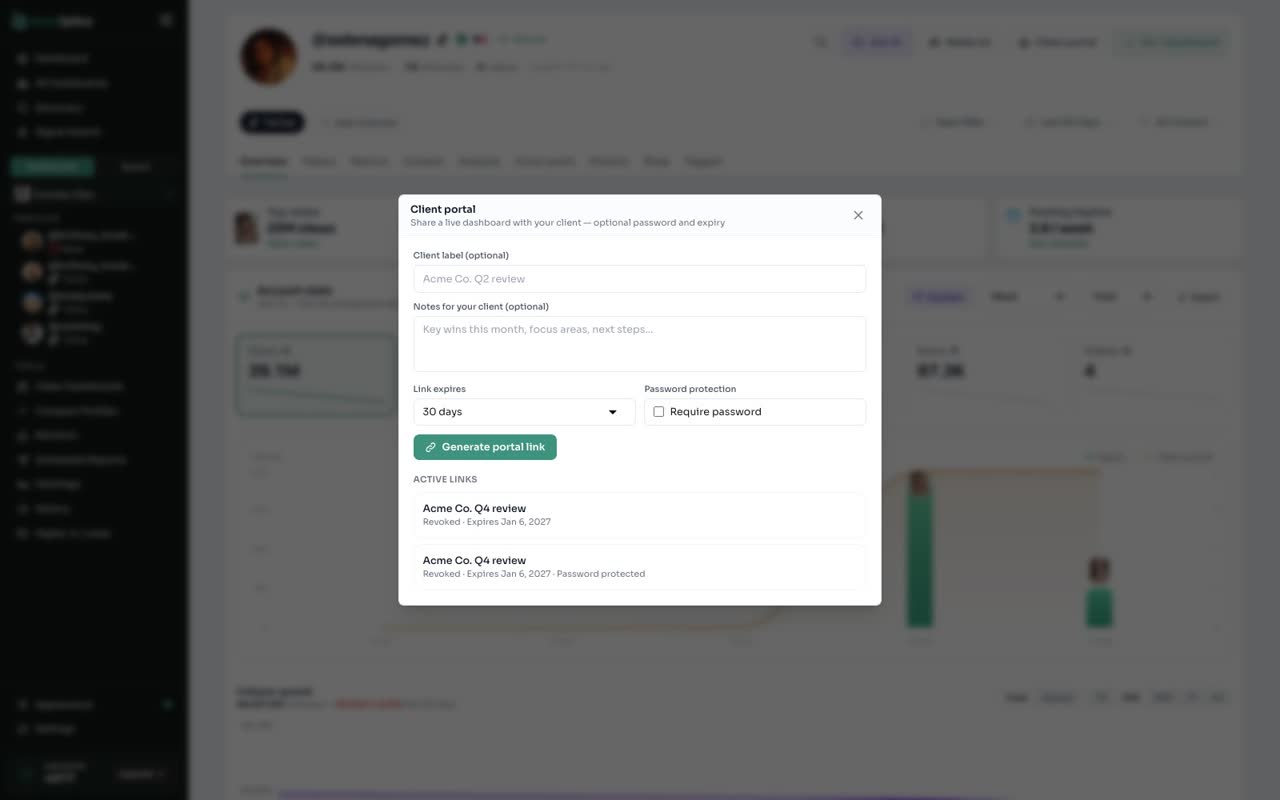
- Open Client portal
- Add a label and notes
- Choose when it expires
- Generate portal link
- What your client sees
- Revoke it when you are done
Step by step
Prefer reading? Every step shows the screen you’ll see. Click a time to jump the video there.
-
1
Open Client portal
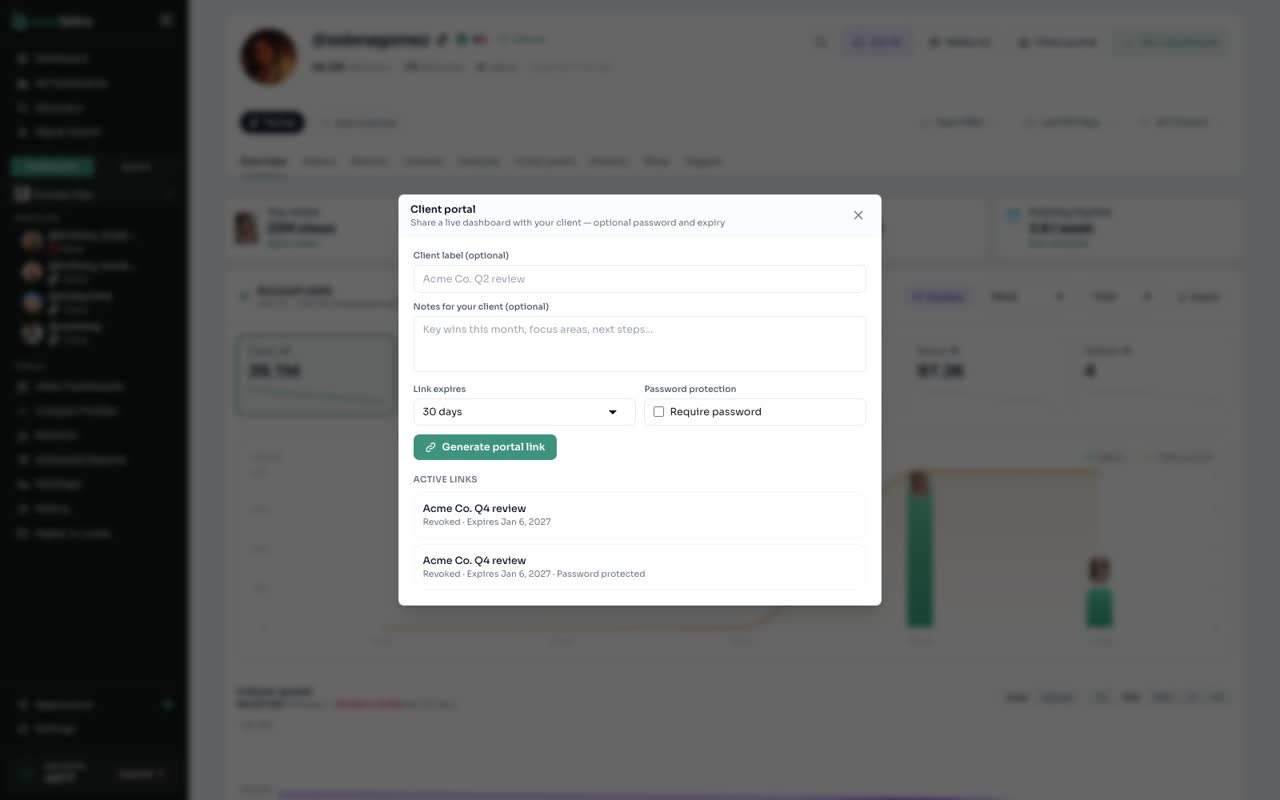
On a creator's profile, click Client portal at the top.
-
2
Add a label and notes
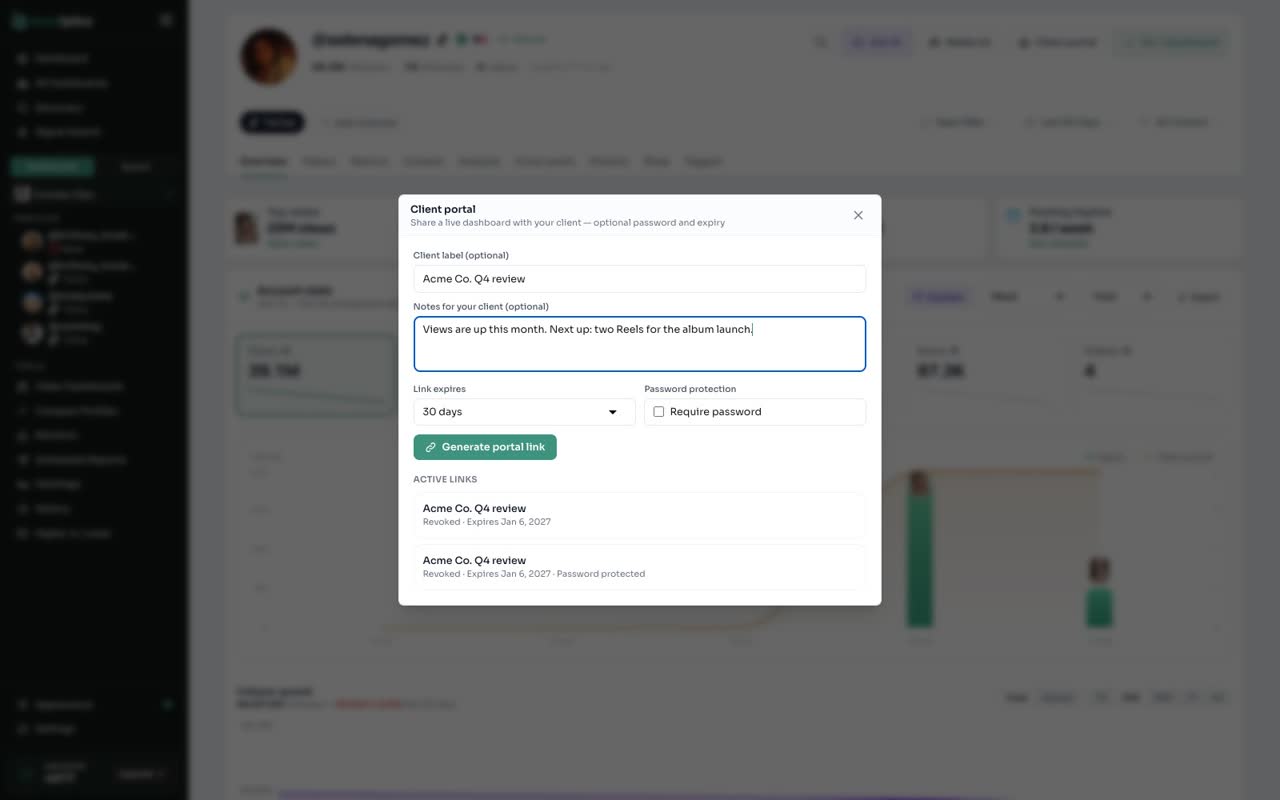
Add a label for your client, and a short note they will see at the top.
-
3
Choose when it expires
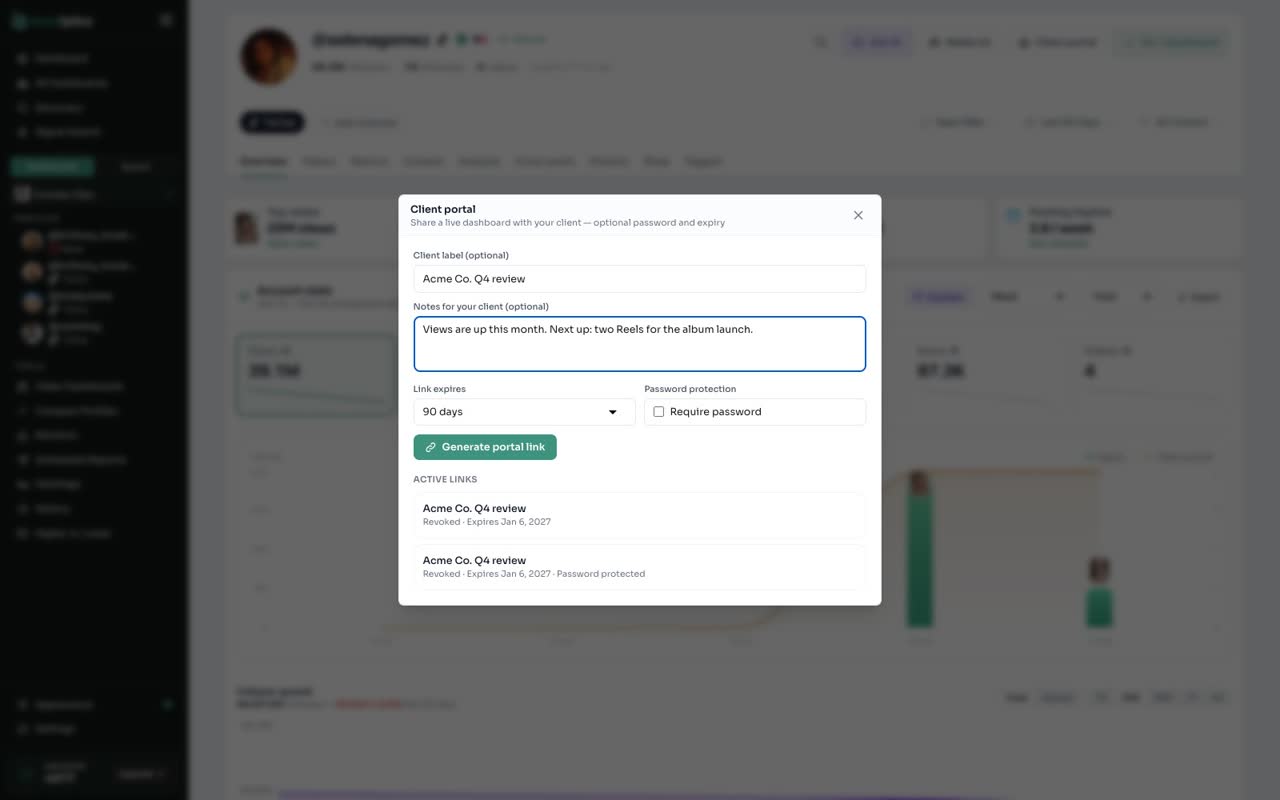
Under Link expires, pick 7, 30 or 90 days, or Never.
-
4
Generate portal link
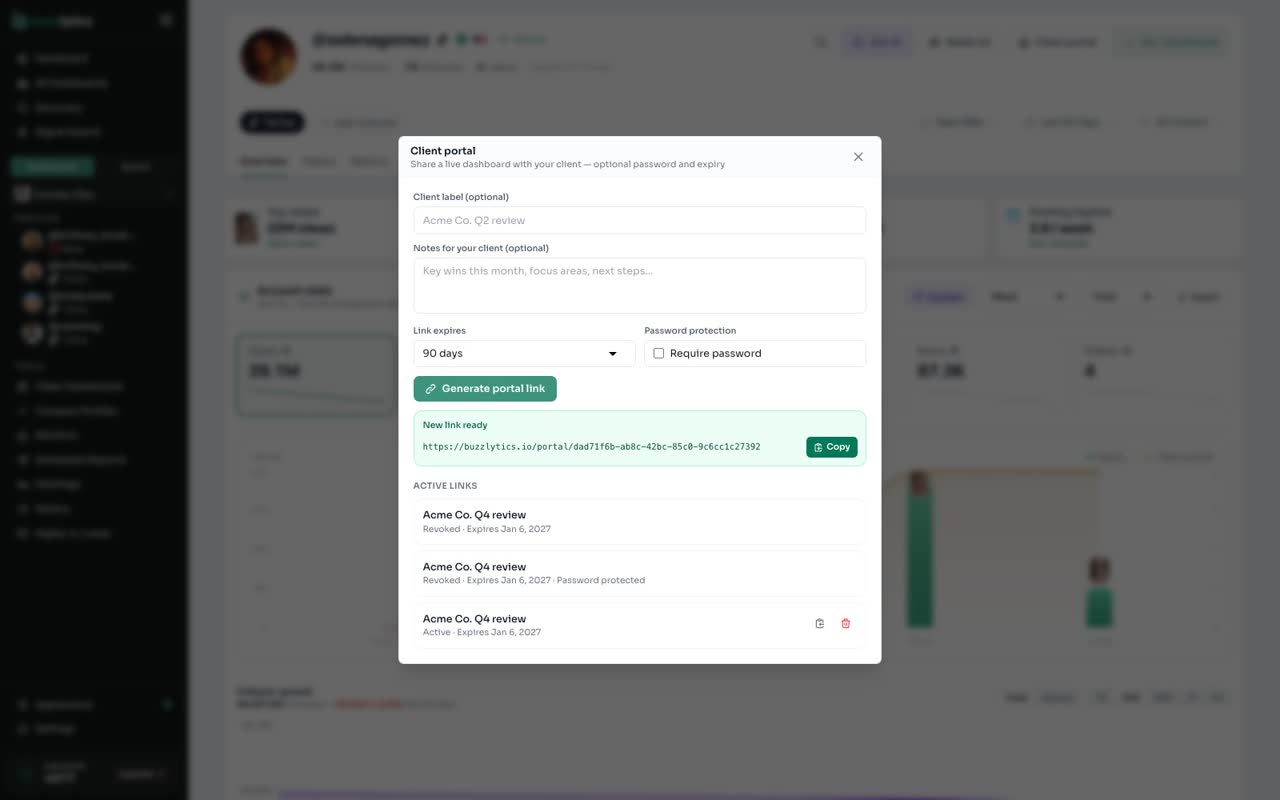
Click Generate portal link, then copy the new link and send it to your client.
-
5
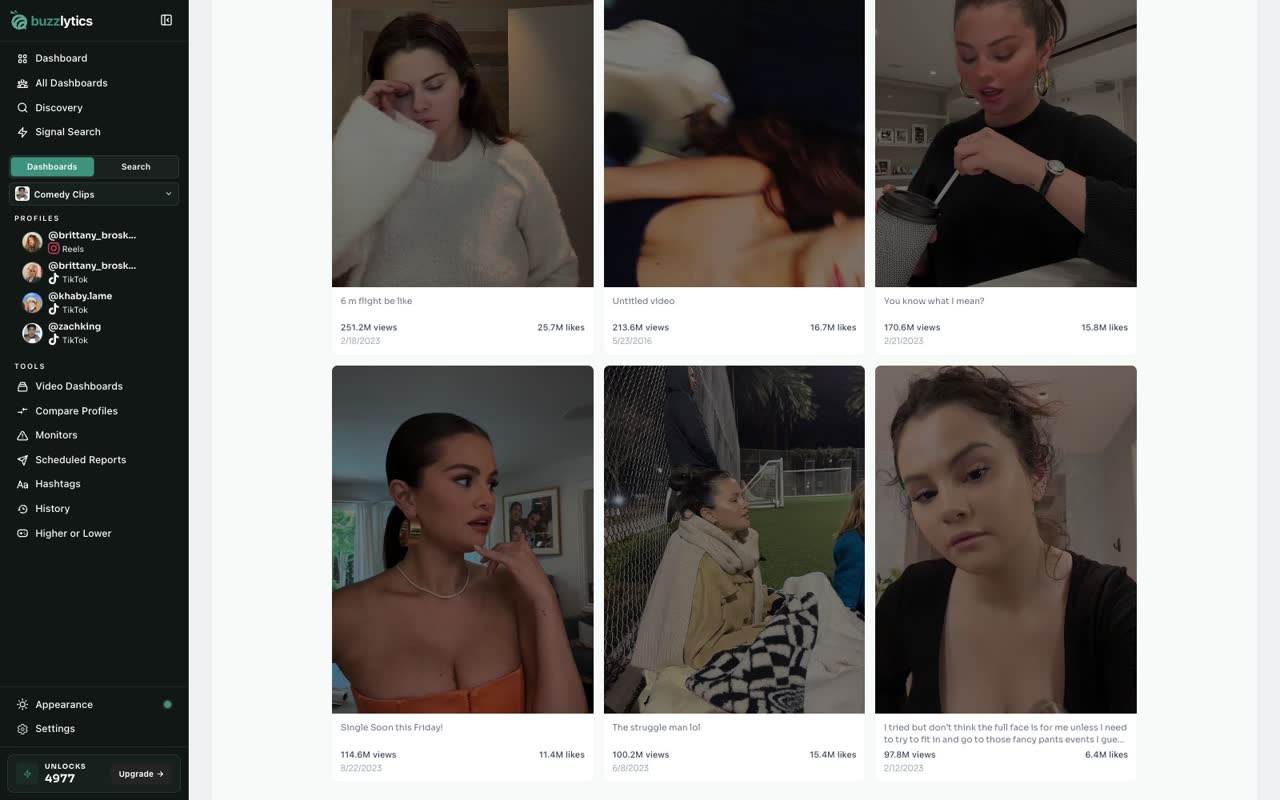
What your client sees
Your client gets a live view of the creator, with your notes and best performing posts. No login needed.
-
6
Revoke it when you are done
Back on the profile, open Client portal again. Under Active links, click Revoke link and it stops working.
Good to know
- Portals show one creator. To share a whole roster, use a live dashboard link instead.
- Pick Never under Link expires for a portal that stays open until you revoke it.
- Revoking a link stops it working right away.
Read the full transcript
In this video, you will create a private client portal for a creator, and revoke it when you are done.
On a creator's profile, click Client portal at the top.
Add a label for your client, and a short note they will see at the top.
Under Link expires, pick 7, 30 or 90 days, or Never.
Click Generate portal link, then copy the new link and send it to your client.
Your client gets a live view of the creator, with your notes and best performing posts. No login needed.
Back on the profile, open Client portal again. Under Active links, click Revoke link and it stops working.
That's it. You're ready to go.