Filters, date ranges and saved views
Change the date range, pick profiles and content types, then save the setup as a view your dashboard opens with.
Quick steps
- Pick a date range
- Choose profiles
- Filter by Content Type
- Save these filters as a view
- Open the dashboard with it
- Star your default
- Switch views in one click
Step by step
Prefer reading? Every step shows the screen you’ll see. Click a time to jump the video there.
-
1
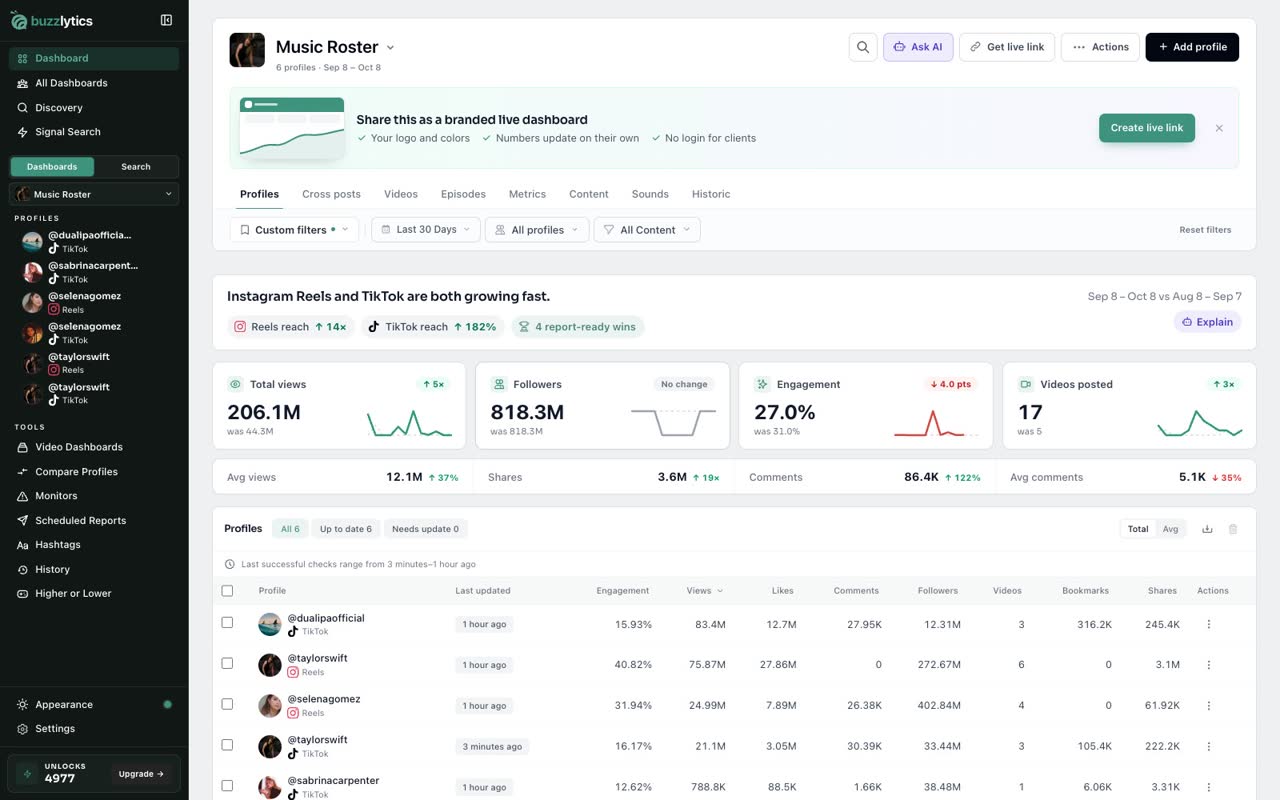
Pick a date range
Click the date button to choose a range, like Last 7 Days, Month to Date or Last 30 Days. You can also set a Custom Range.
-
2
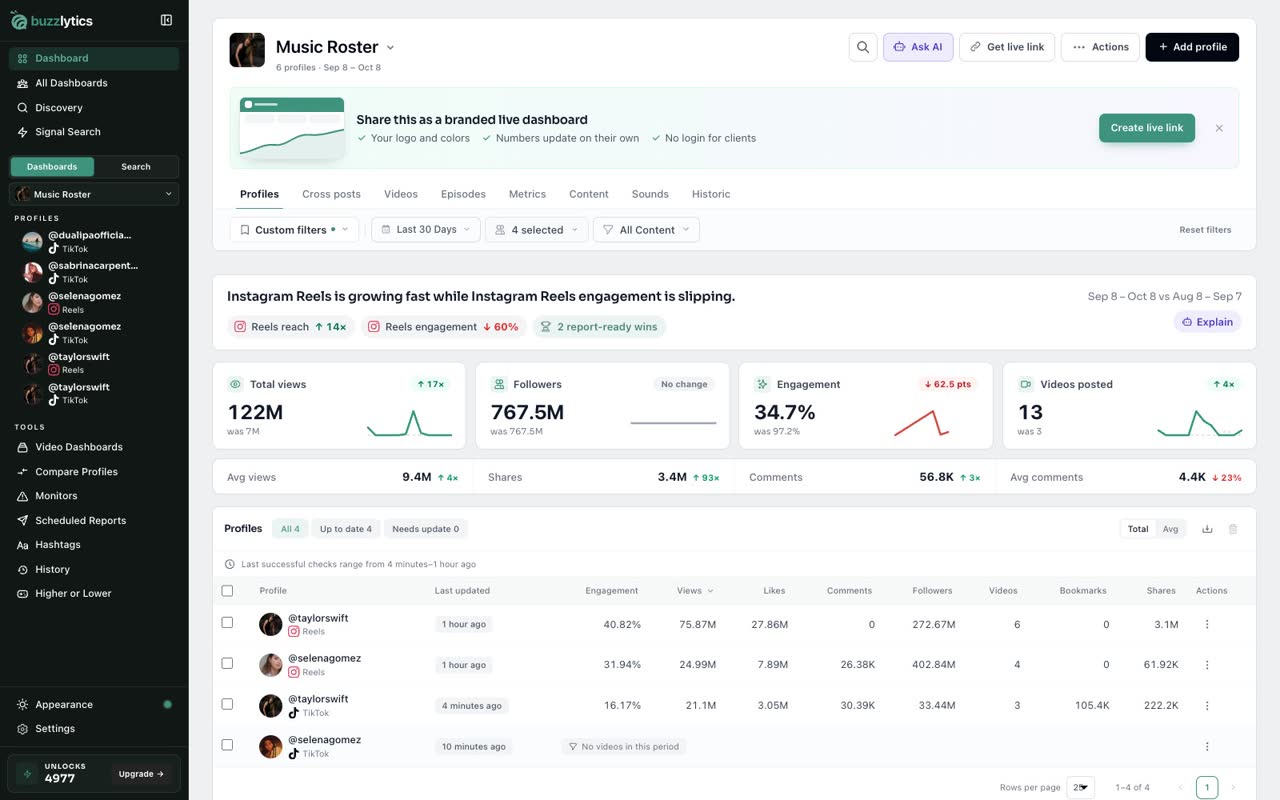
Choose profiles
Open Profiles to focus on just some of the accounts. Untick the ones you want to leave out.
-
3
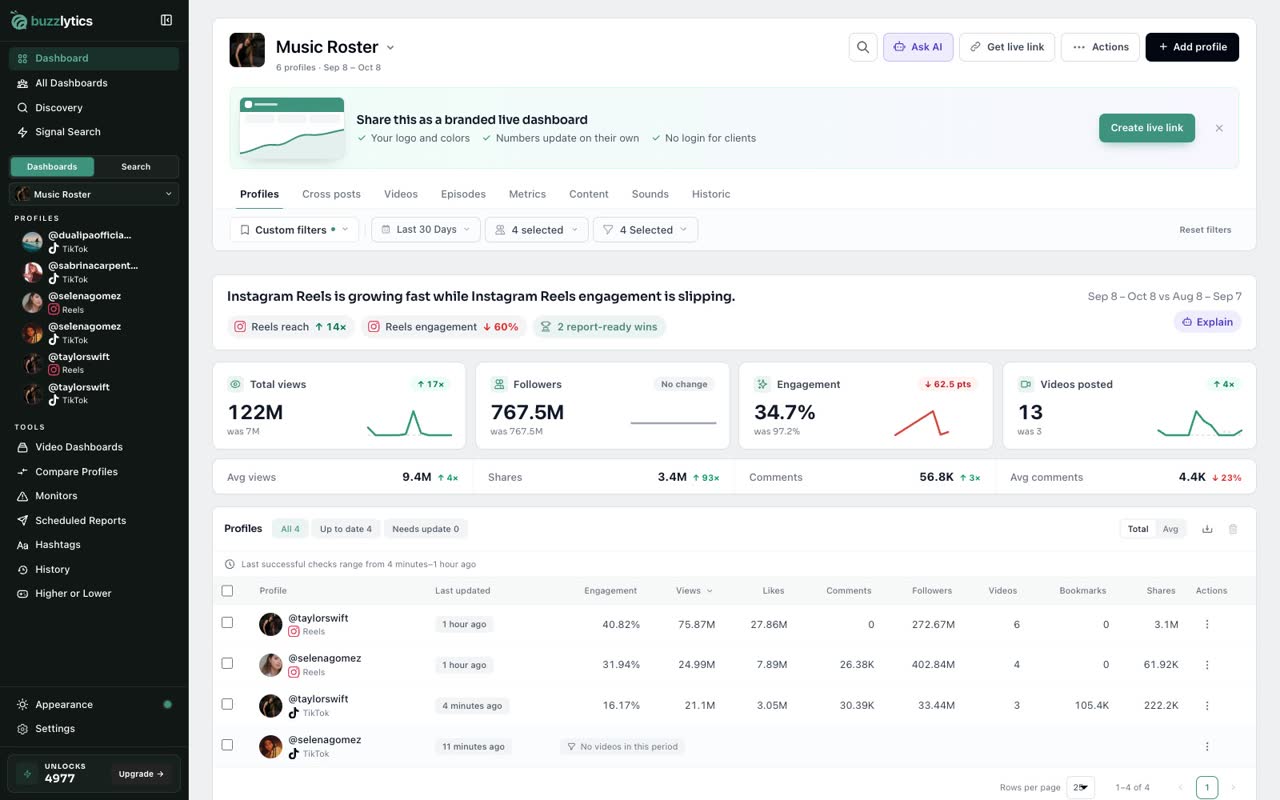
Filter by Content Type
Content Type lets you split organic posts from promoted ones. Untick what you do not need, then click Apply.
-
4
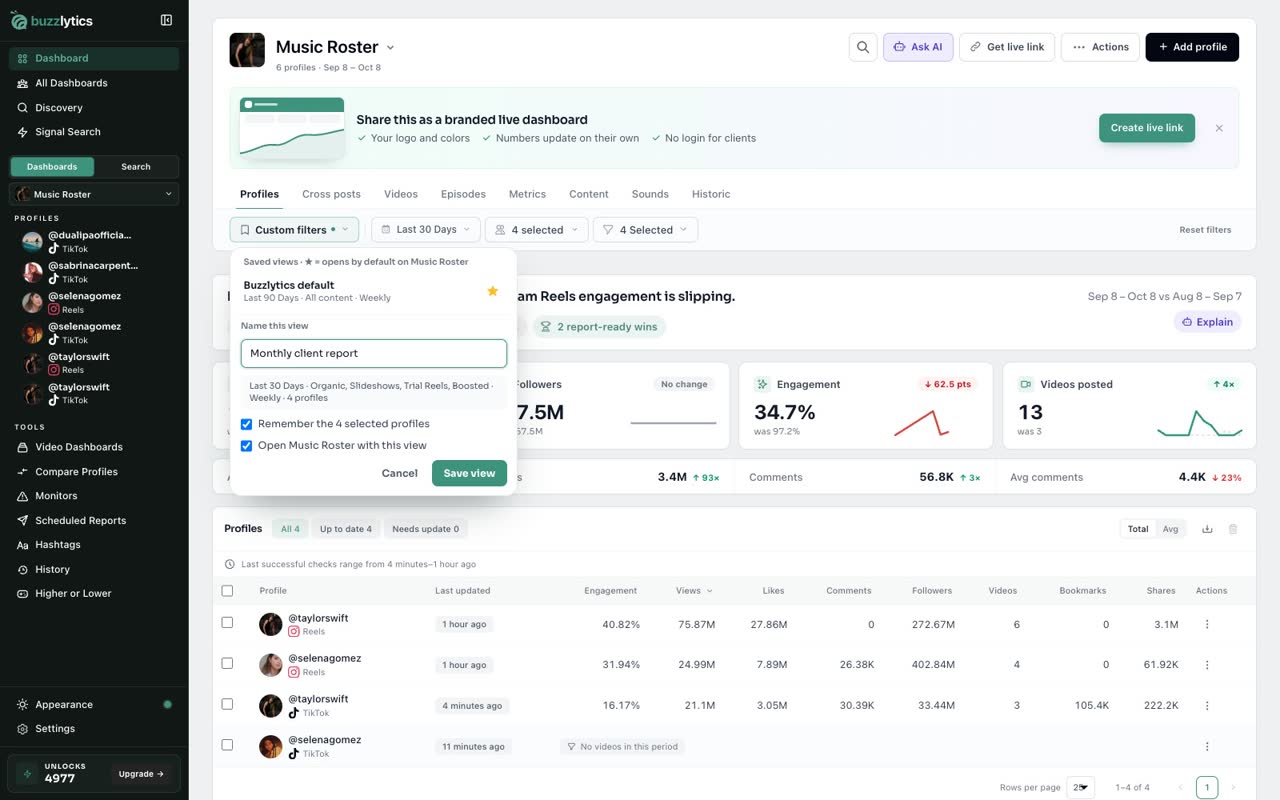
Save these filters as a view
Now open the views menu and choose Save current filters as a view. Give it a name your team will recognize.
-
5
Open the dashboard with it
Keep Open Music Roster with this view ticked to make it the default, then click Save view.
-
6
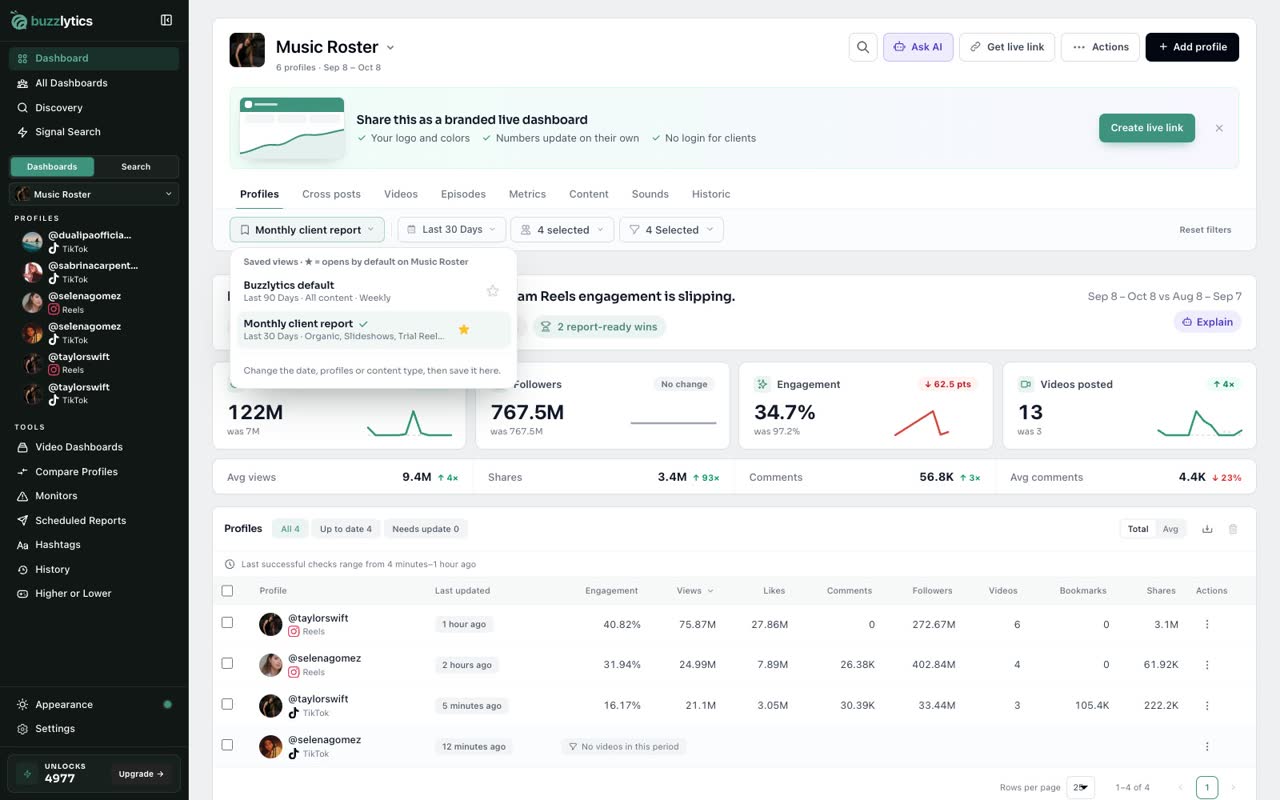
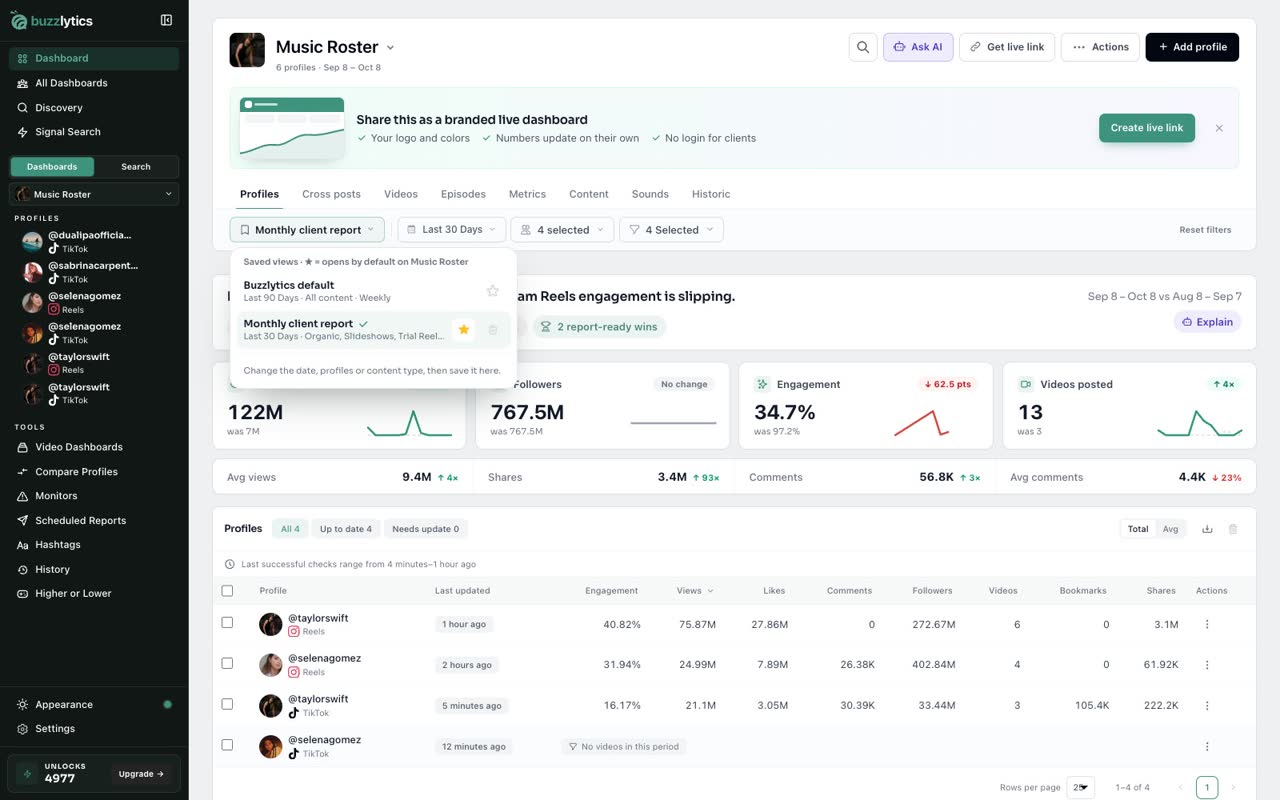
Star your default
Your view is saved. The star marks the view this dashboard opens with, and you can move it any time.
-
7
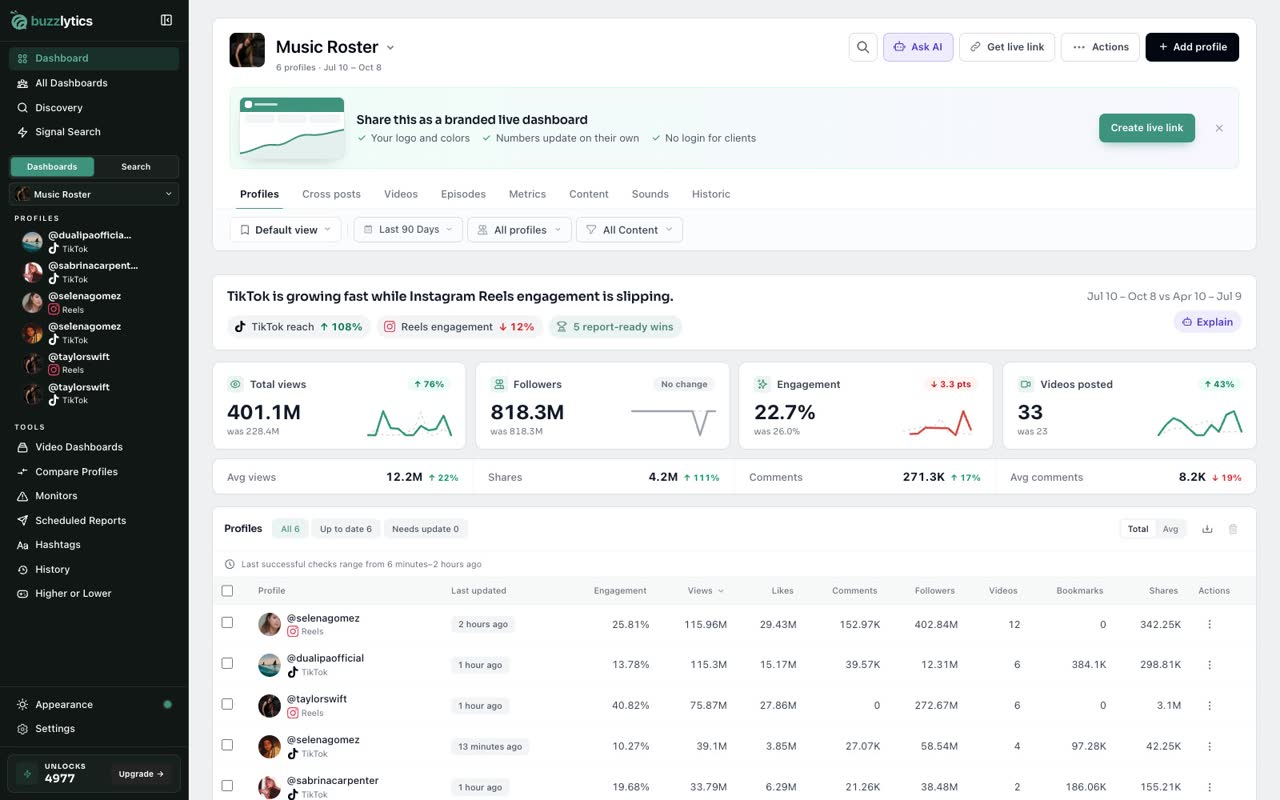
Switch views in one click
Click Buzzlytics default to go back to the standard filters, or your saved view to bring them all back.
Good to know
- Filters apply to every tab, from Profiles to Historic.
- Star a saved view to make it the one this dashboard opens with. You can keep up to 20 views.
- Content Type options depend on the platforms in your dashboard, like Promoted or Trial Reels.
Read the full transcript
In this video, you will filter a dashboard and save those filters as a view.
Click the date button to choose a range, like Last 7 Days, Month to Date or Last 30 Days. You can also set a Custom Range.
Open Profiles to focus on just some of the accounts. Untick the ones you want to leave out.
Content Type lets you split organic posts from promoted ones. Untick what you do not need, then click Apply.
Now open the views menu and choose Save current filters as a view. Give it a name your team will recognize.
Keep Open Music Roster with this view ticked to make it the default, then click Save view.
Your view is saved. The star marks the view this dashboard opens with, and you can move it any time.
Click Buzzlytics default to go back to the standard filters, or your saved view to bring them all back.
Next up, the Videos tab and CSV export.